Introduction
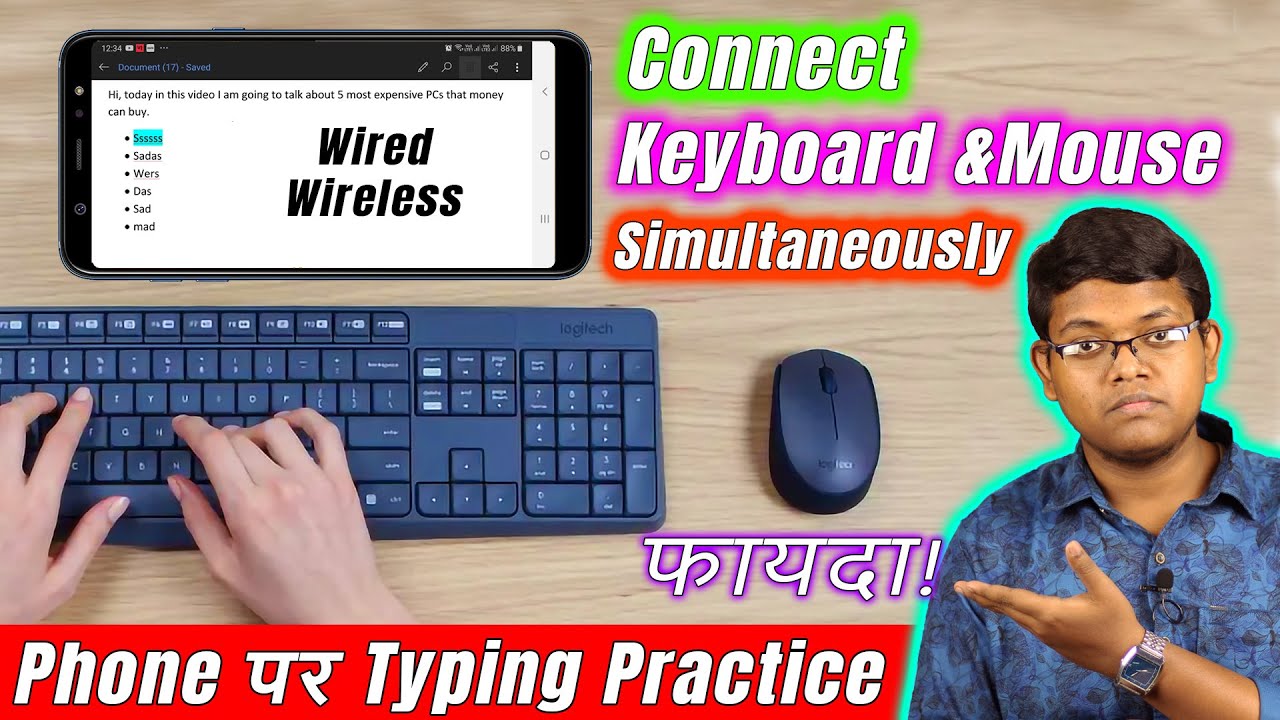
In today’s fast-paced world, our smartphones have become indispensable tools for both work and leisure. However, as powerful as they are, typing and navigating on a small touchscreen can sometimes be cumbersome, especially when dealing with lengthy emails or documents. Thankfully, there’s a solution that can significantly enhance your mobile productivity: connecting a keyboard and mouse to your phone. In this comprehensive guide, we will walk you through the simple steps to make this connection and unleash the full potential of your smartphone.
Step 1: Check Compatibility
Before diving into the process of connecting a keyboard and mouse to your phone, it’s essential to ensure that your phone supports this feature. Most modern smartphones running on Android or iOS should have this capability, but it’s always wise to double-check in your device’s settings or consult the manufacturer’s website.
Step 2: Gather the Necessary Equipment
To establish a successful connection between your phone and external input devices, you’ll need the following:
a) A USB OTG (On-The-Go) adapter: This small, inexpensive accessory allows you to convert your phone’s micro USB or USB Type-C port into a standard USB port, enabling it to connect to various external devices like keyboards and mice.
b) A USB keyboard and mouse: Any standard USB keyboard and mouse should work, but you can also opt for wireless versions if you prefer a clutter-free setup.
Step 3: Connect the Keyboard and Mouse
Now that you have all the necessary equipment, it’s time to connect the keyboard and mouse to your phone:
- Insert the USB OTG adapter into your phone’s charging port.
- Connect the keyboard and mouse’s USB connectors to the USB OTG adapter.
Step 4: Allow Permissions (Android Users)
If you’re using an Android device, you may need to grant certain permissions to enable the keyboard and mouse to function correctly. Your phone should prompt you to allow access to the external input devices. Follow the on-screen instructions to give the necessary permissions.
Step 5: Start Using the Keyboard and Mouse
Once the connection is established and permissions are granted (for Android), you can start using your keyboard and mouse right away. Your phone should automatically recognize the input devices, and you’ll see a cursor on the screen when you move the mouse.
Tips for a Better Experience:
- Keyboard Shortcuts: Take advantage of keyboard shortcuts to boost your productivity. Many standard shortcuts like Ctrl+C (copy), Ctrl+V (paste), and Ctrl+Z (undo) work on smartphones too.
- Customization: Explore your phone’s settings to customize the keyboard and mouse functions according to your preferences. You can adjust the pointer speed, customize keyboard layouts, and more.
- Compatibility with Apps: While most apps should work seamlessly with the connected keyboard and mouse, some may not be optimized for external input. Test different apps to find the ones that offer the best compatibility.
Conclusion
Connecting a keyboard and mouse to your phone can transform it into a versatile productivity tool, making typing, navigating, and multitasking a breeze. By following these simple steps, you can unleash the full potential of your smartphone and enjoy a more comfortable and efficient mobile experience. Whether you’re working on the go or simply need a break from the touchscreen, this setup will undoubtedly enhance your mobile productivity.


